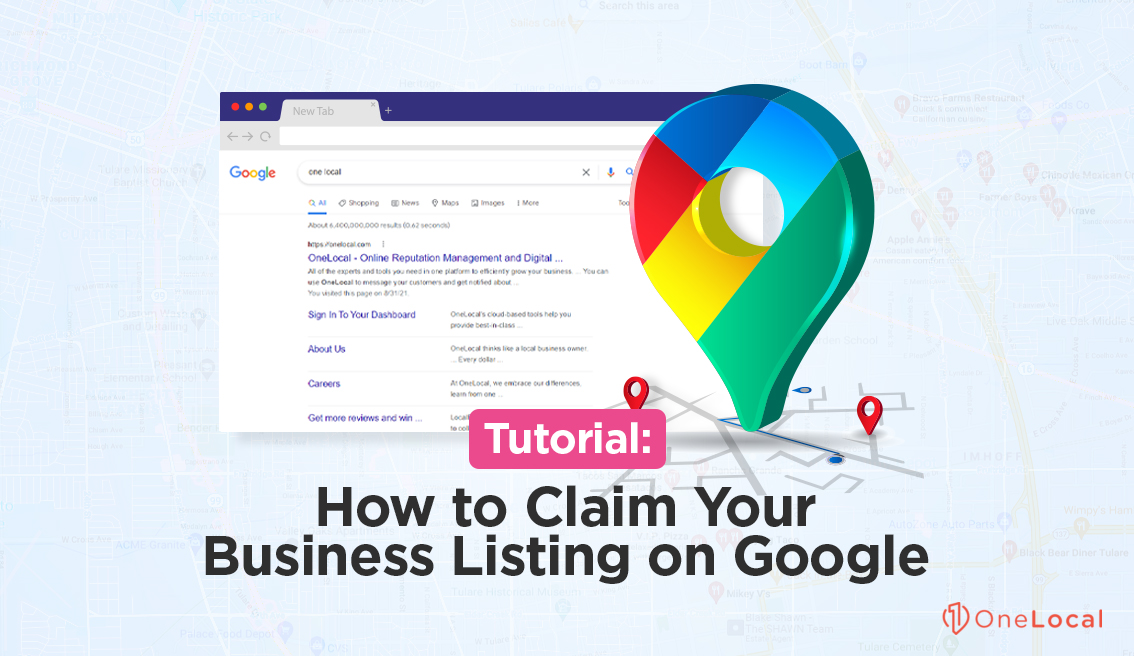
A business listing on Google is a powerful tool for any business, but especially for local businesses.
Google permeates everything. Look for a map, and there they are. Look for product reviews and shopping results, and they’re providing them to you. Organic search, of course, is all Google. As an individual, you have to try extremely hard to avoid using a Google service. As a business, a massive majority of your traffic will come from various Google services.
It stands to reason, then, that making use of Google services gives you a competitive advantage over people who don’t use them or use them less thoroughly than you do.
With a business listing on Google, you can get enhanced results in web searches. You can appear on Google Maps with a listing and reviews; you can get an infobox in Google’s organic search, and more.
The system is called Google Business Profile (formerly Google My Business), and claiming your profile gives you greater control over the information about your business displayed through Google services. Claiming your business listing on Google is critically essential. Luckily, it’s not complicated.
Step 1: Gather Your Information
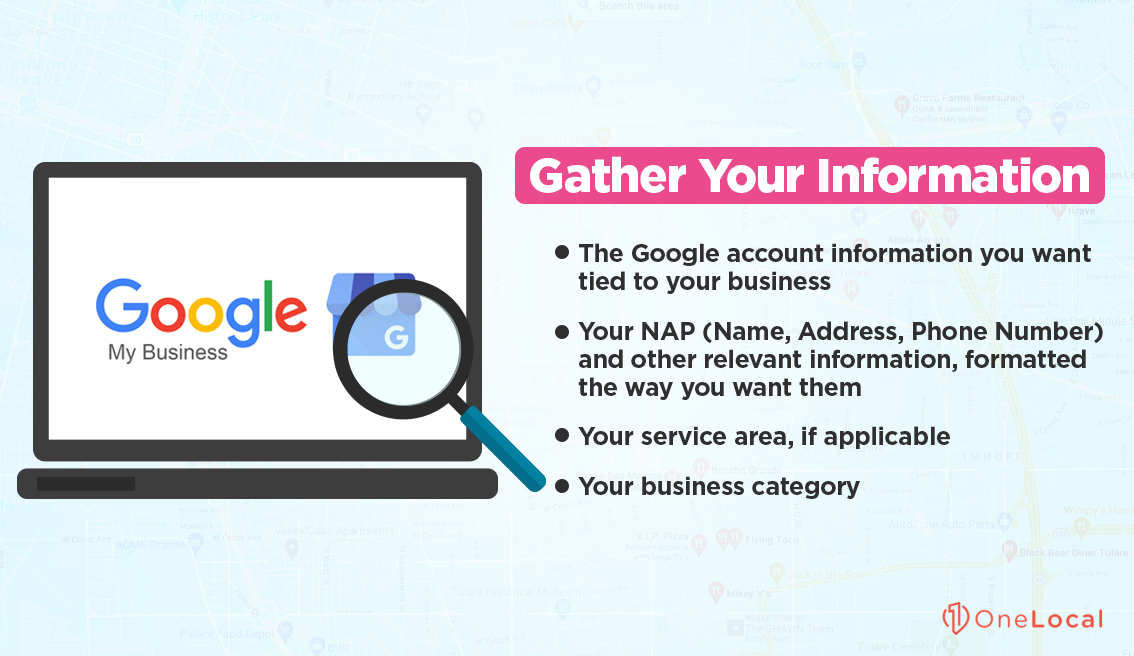
Before claiming your Google Business Profile listing, the first thing you need to do is gather your information. You will need:
- The Google account information you want to be tied to your business.
- Your NAP (Name, Address, Phone Number) and other relevant information, formatted how you want them.
- Your service area, if applicable.
- Your business category.
It would be best if you had most of this on hand, and we’ll explain more of it later as we go when the information is relevant. The most crucial part is your business name. You want a consistent business name across your listings online, so make sure you’re choosing the correct name and formatting.
Step 2: Visit Your Google Business Profile
While this might seem like an obvious step to claim your business listing on Google, but it’s surprisingly important. The official page for Google Business Profile (formerly Google My Business) listings is https://www.google.com/business/. There are many other websites out there that will claim to be the official page but, in reality, are scams in plain sight.
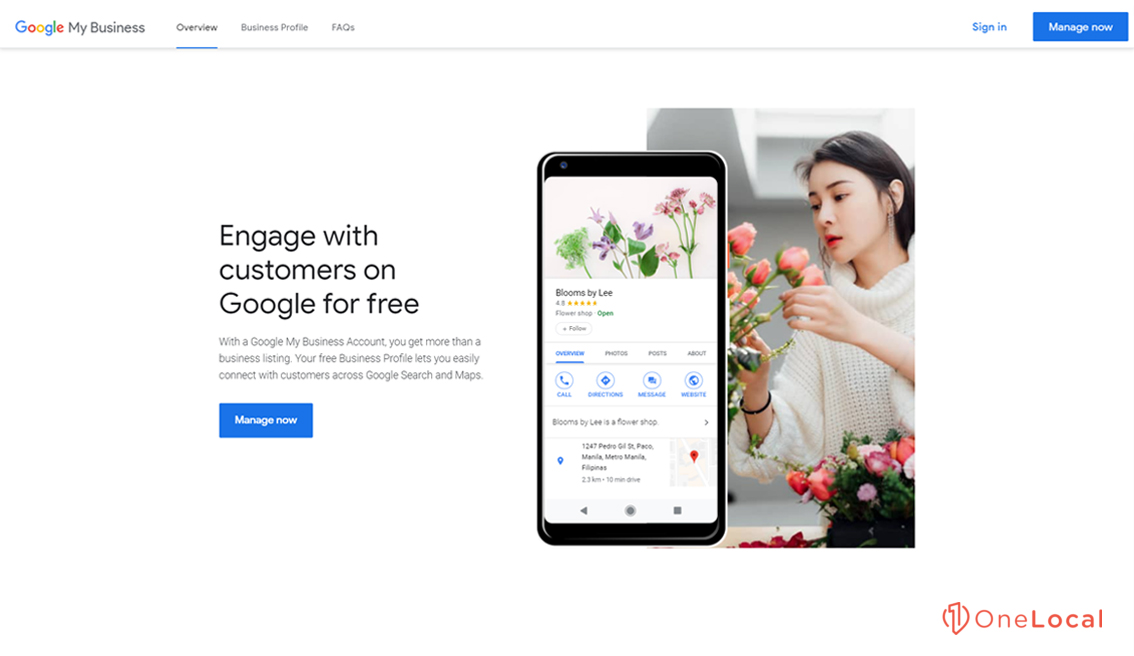
The key here is to recognize that signing up for a Google Business Profile is free. There are many sites out there that will present themselves as if you’re signing up through Google, only to charge you for the service. All they do is fill out the forms for you. They’re legal because they claim to offer “management services,” though many of these scam sites provide very little if anything of the sort.
There are, of course, legitimate businesses that do offer management services, with actual value attached. We’re one of them. So, if you want a managed service to optimize your business listing on Google, maintain continuity across multiple profiles, and leverage high-end local SEO awareness, we can provide that for you. If you want to DIY manage your business listing on Google, you can do that for free. We’re not going to hide that from you or present ourselves as something we’re not.
Step 3: Sign In With Your Business Google Account
Another “obvious” step here; you need a Google account to manage your business listing on Google. More importantly, you want to make sure you’re signing in with the correct Google account. If your business has its own G Suite account, use that.
One of the more common mistakes we see when business owners try to claim their business listing on Google is using the wrong account. More than a few businesses have signed up using the personal Gmail account of the CEO or of the person who happens to be signing up, just because no one thinks about what the implications of the account choice are. They think, “oh, of course, I need to be signed in to use Google services,” and sign in with their own Google account.
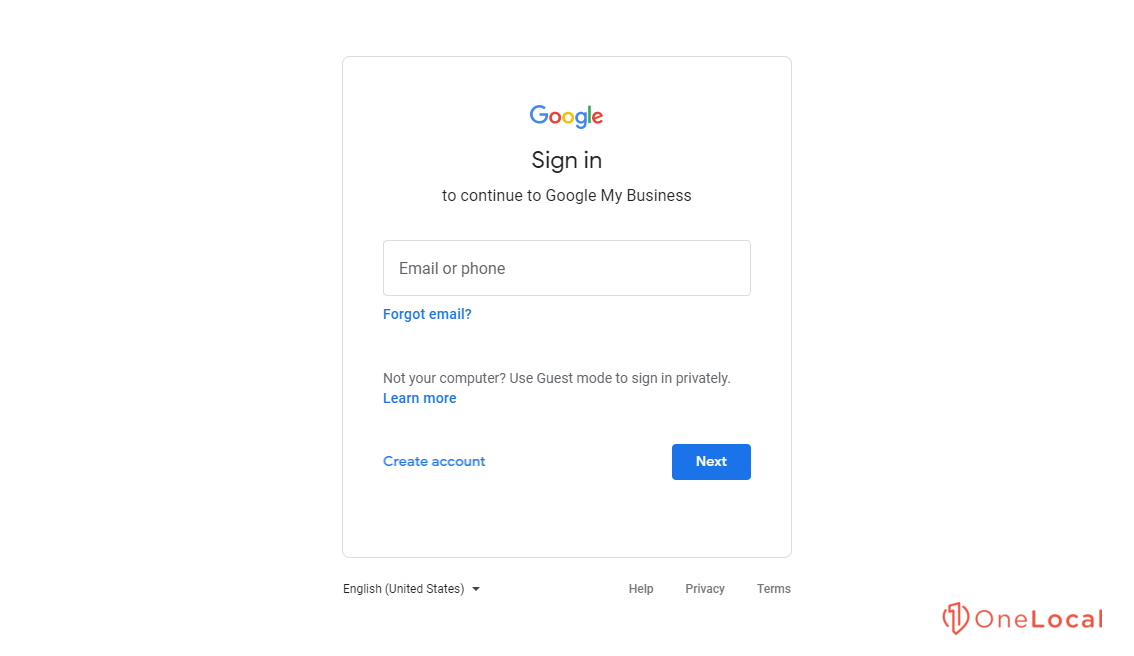
Luckily, if you do this, it’s not a difficult mistake to rectify. Google has a process for transferring ownership. This is the same process you can use if someone else has claimed your business listing on Google in error or as a past attempt to manage your business listing that slipped through the cracks.
Step 4: Choose (Or Create) Your Business Listing on Google
Once you’ve signed in with your Google account, Google will ask you to specify the name of your business. Type it in the way you want it to appear. Now, there are two possible results here.
If your business does not have any local listings already, you will be asked to create one.
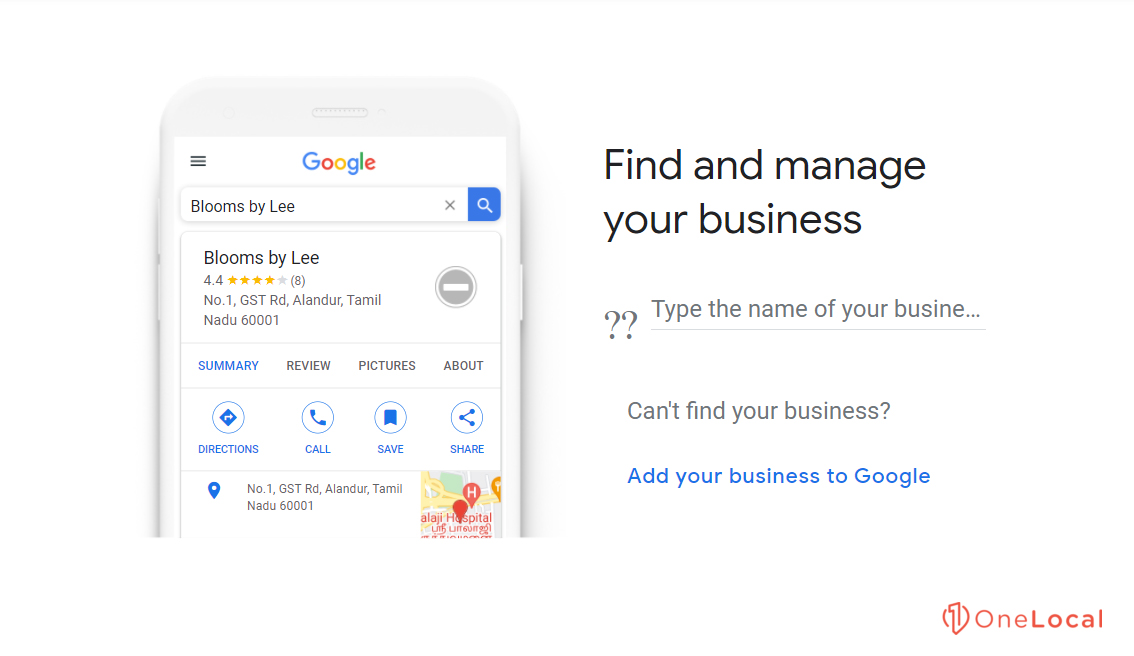
If there are business listings with that name, they will appear in a drop-down list, along with their service area/location. If one of these is yours, choose it. However, there may be other businesses with the same name in other places. Don’t try to claim a business listing on Google that’s not yours; instead, choose to create a new business.
If I never made a business account, how does Google already have one?
If you’ve never claimed your account, and you know no one else on your staff has, but you see a business listing for your business, what’s going on?
Google is a collaborative, crowd-sourced platform for a lot of different kinds of information. If a user wants to leave a review of your business on Google but your business doesn’t have a listing, they may be asked to make one. The user can then specify some basic information about the business to leave a review.
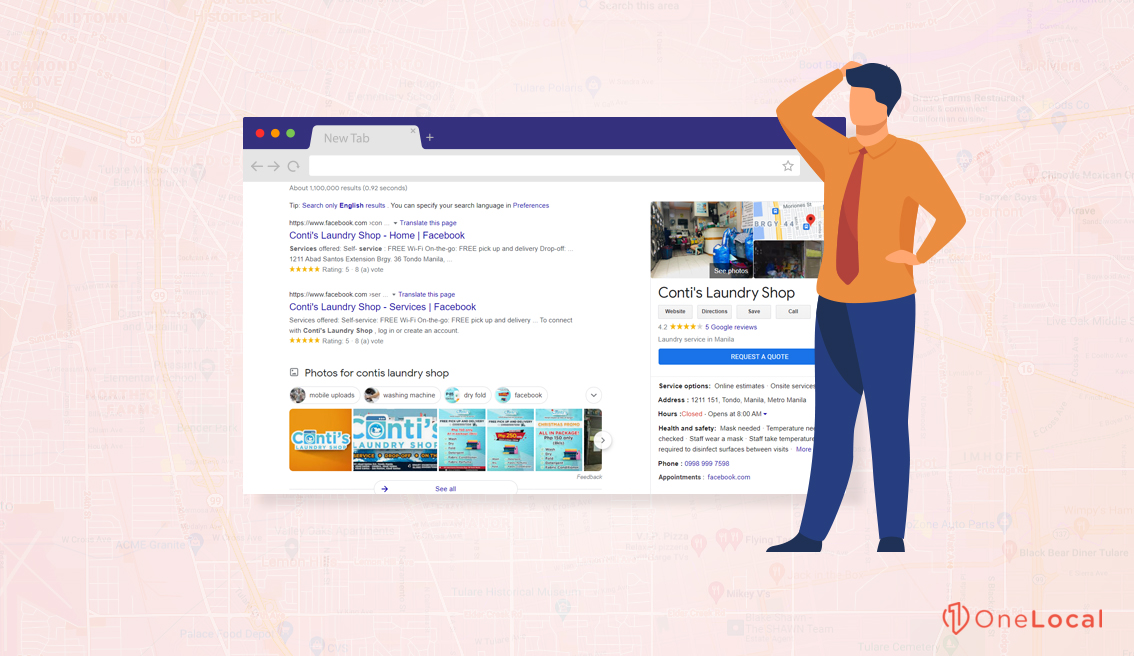
If you’ve neglected Google’s business listings for this long, you may have a profile that has pictures, information, and reviews that you didn’t know existed and can’t control. The profile will have no verified ownership and may have incorrect information (such as a user putting in business hours during a holiday rather than your standard business hours) that you will need to correct.
This isn’t a bad thing, necessarily. It means some of the work is already done for you, and you’ll need to verify that the information in your business listing on Google is correct.
This is also quite common. Google would rather have an unclaimed but reasonably accurate profile than a business with no profile that leaves potential reviews unposted.
Step 5: Enter Your Address and Service Area
Once you’ve chosen or specified your business name, you’ll be asked to put in your address. This is, of course, the specific business address for your business; if your business is contracting, like an electrician or other service worker, plug in the address of your home office or headquarters.
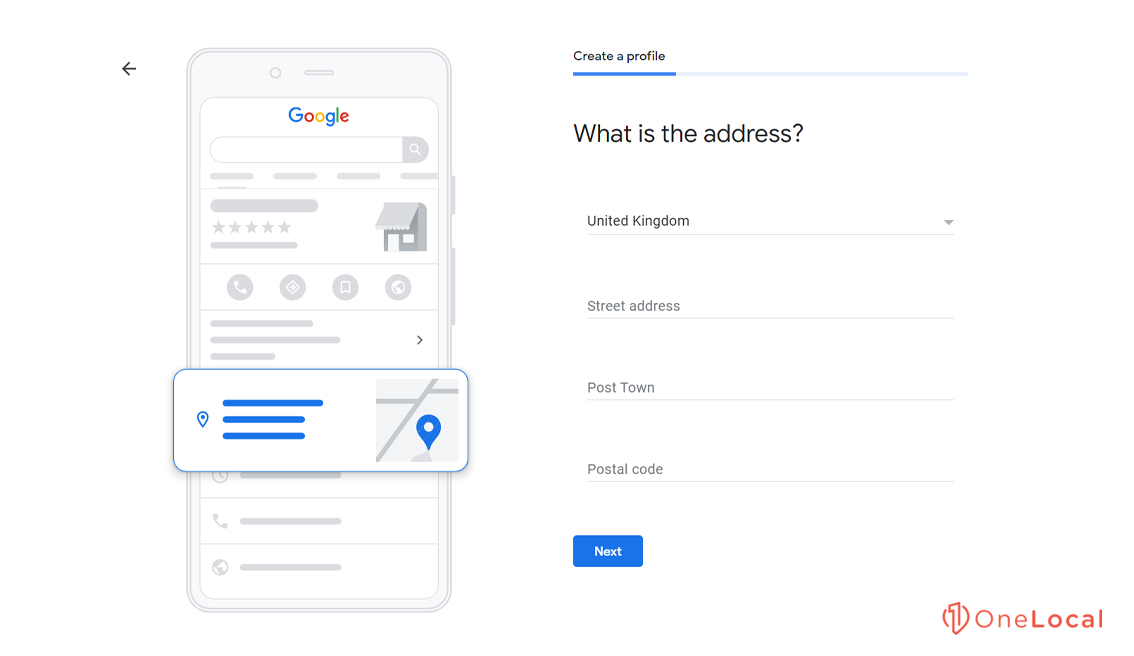
If you are a brick-and-mortar business, retail location, or otherwise do business out of one central location, and you DO NOT deliver, do not check the “I deliver goods and services to my customers” box. This box turns your listing into a “service area business.” A service area business is a business that operates out of one location but delivers its goods or services to customers rather than customers coming to them. An electrician, a landscaping company, and other such businesses fall into this category.
If you’re a business that operates both out of a retail location AND delivers – such as a restaurant with delivery services – you can check the box to specify your service area. It would help if you left the second check box blank. This way, your address shows up so users can visit it, but you have a service area for delivery also specified.
If you’re a contractor or business that does not do business out of your central locations – such as an electrician operating out of your home – check both boxes. The first tells Google you want to specify your service area, and the second hides your address, so people don’t show up to your house expecting to hire you.
Like most aspects of a business listing on Google, this can be changed later, so don’t worry too much if you didn’t check the appropriate boxes.
Step 6: Specify Business Information
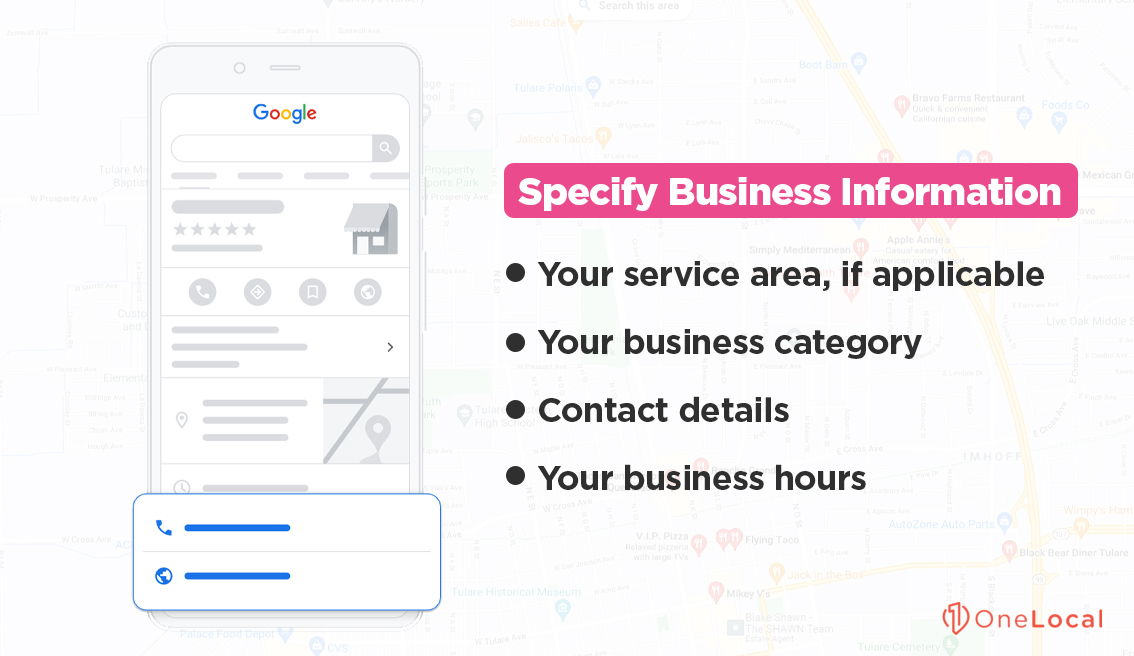
Now, depending on your selections, you will be asked a series of questions and given a chance to specify business information to set up your business listing on Google. This information includes:
- Your service area, if applicable. This can be zip codes, counties, cities, or other specific areas.
- Your business category. You will be able to choose a general category and sub-categories. For example, a retail outlet can choose Retail as a primary category and Grocery or another niche for sub-categories, as applicable.
- Contact details. These include your website URL, your phone number, whether or not your business can accept text messages, and so on.
- Your business hours.
Pay special attention to your website URL. Make sure this information is the same as it is in other listings if you have other listings or is the template you’ll use to create other listings. Remember that https:// and http:// are different, and whether or not you use www. is also a variation. Even if they all take a user to the same website, the variation can cause issues down the line.
Step 7: Verify Your Ownership
Once you have specified information for your business listing on Google, you will need to verify your ownership of the business. Verifying ownership is vital; it essentially locks the profile so that only you can edit it, whereas before, anyone could submit a correction. This helps ensure information continuity and also verifies that your business is actively operated.
Verification requires Google to send you a code in some form that you then plug into a form. Typically, the verification process uses a physical postcard mailed to your business location. You request verification, they send you the postcard, you plug in the code, and you’re good to go.
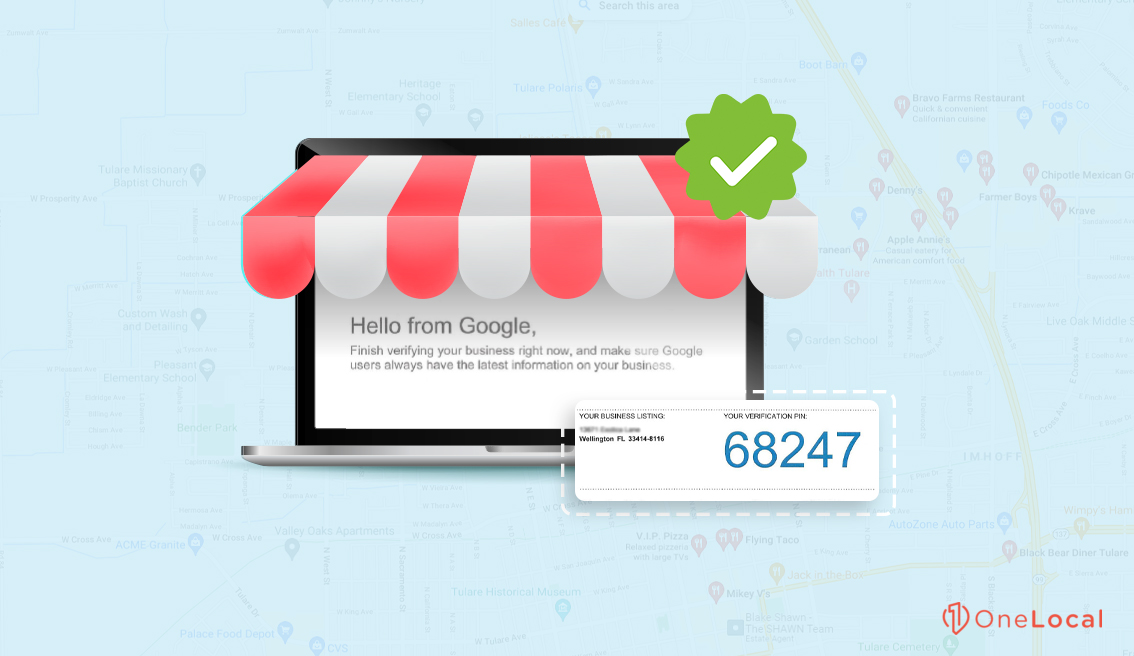
Some businesses are eligible for instant verification if they’ve been verified in the past through the Google Search Console. Others may be able to request ownership verification via phone or email. There are also bulk verification options for businesses with many locations and franchises. For most businesses, though, the postcard is the only method available to you.
You can read more about the verification process here.
Step 8: Optimize Your Listing
It’s one thing to get your business listing on Google set up and quite another to optimize it. Optimizing a business profile requires knowledge of local SEO and business marketing, as well as Google’s policies for representing yourself via their services.
There are two ways to optimize your business listing on Google. The first is to do it yourself, usually following a guide like this one. This works, though you have to keep up with it and ensure that you know what you’re doing. The second option, of course, is to hire a high-quality service to manage your presence for you. We provide those services if you’re interested.
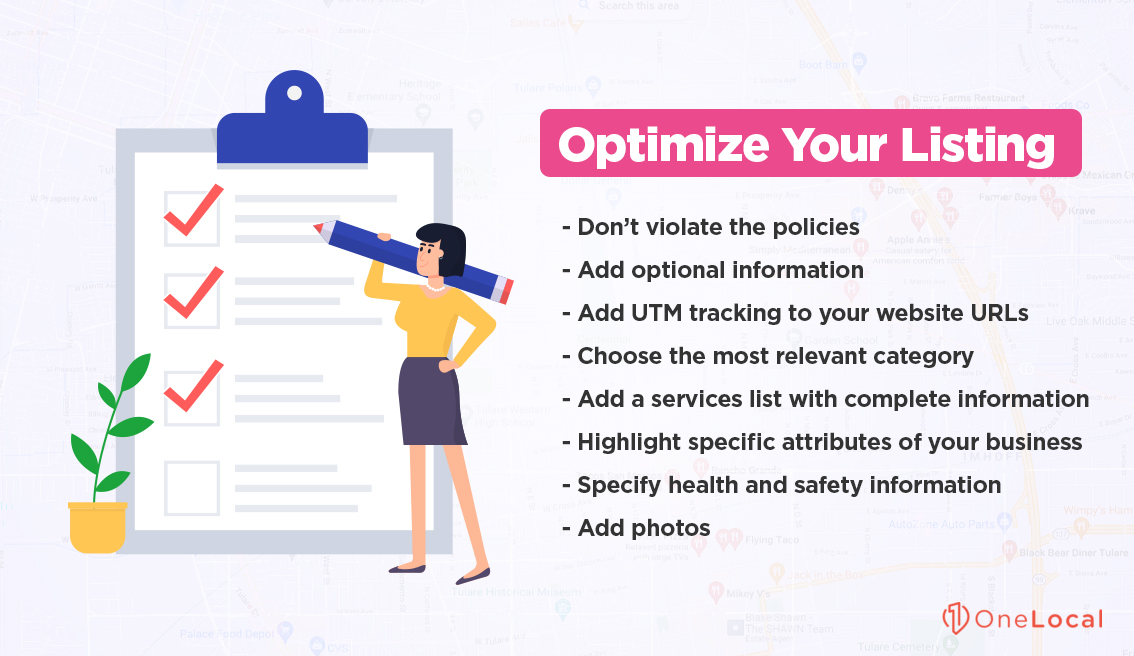
If you’re looking to manage your business listing on Google all by yourself, here’s a brief checklist of information to optimize.
- Don’t violate the policies. Google’s business representation policies are here. There are many specific policies here about business information, services, and claims you make, so read through this document before you start optimizing.
- Add optional information. For example, if you have a webpage where users can schedule an appointment directly, add it so the appointment button can appear on your listing.
- Add UTM tracking to your website URLs. You get some referrer data naturally, but UTM parameters help with more specific tracking.
- Choose the most relevant category and sub-category to describe your business in narrow terms.
- Add a services list with complete information about each service for as many of your significant services as possible.
- Highlight specific attributes of your business, where applicable. For example, if your business is woman-owned, veteran-led, or offers wheelchair accessibility, these can be good to specify.
- Specify health and safety information. This section is new for COVID-19 purposes and allows you to add your COVID-19 policies, such as disinfecting surfaces regularly or requiring masks.
- Add photos. High-quality photos can help users decide whether or not they want to visit. Photos of the interior and exterior, as well as demonstrations of products or services, can all be good ideas.
There’s more to it, of course. Local SEO, an optimized listing, and a robust presence go hand-in-hand. You have a choice: you can try to learn enough to manage your business listing on Google by yourself, or you can contact us today and have us handle it for you.

Rachel Solway is a seasoned marketing professional dedicated to empowering small businesses through innovative marketing strategies. With extensive experience at OneLocal, a leading marketing solutions provider, Rachel’s insights are helping thousands of local businesses navigate the digital landscape.

